Optical meter reading with KNX integration
Step by step.
Step by step.
The digitalisation of the flat and house connection meters is progressing, but there is still the task of being able to use this metering for control and energy management. An optical interface is mostly offered by the metering point operators and energy suppliers. Some products are available to integrate these values into the KNX. But here, too, the metering point operators offer different protocols, so that there are problems of compatibility or not all the required values can be read out.
A quite flexible and also inexpensive solution is to read out via an optical sensor with a serial interface and transfer to TCP/IP in WiFi. This requires an ESP8266 radio module with TASMOTA firmware. For KNX integration, the LOGIKEDITOR of the EIBPORT or the LOGIKMODULE used.
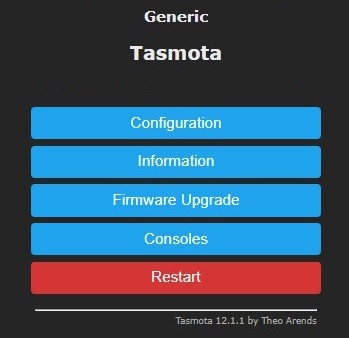
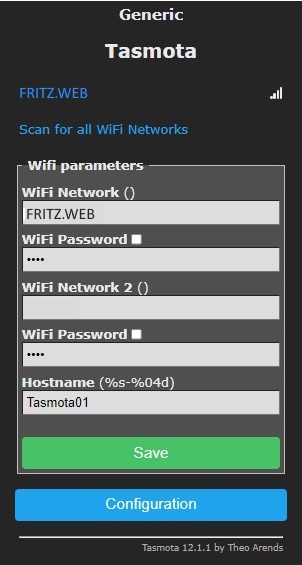
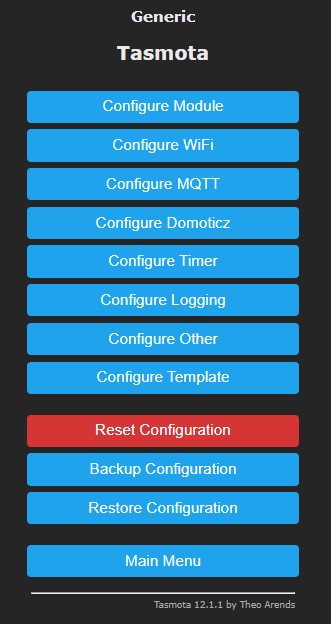
First steps for setting up the ESP8266 radio module with TASMOTA
Integrate energy meter template
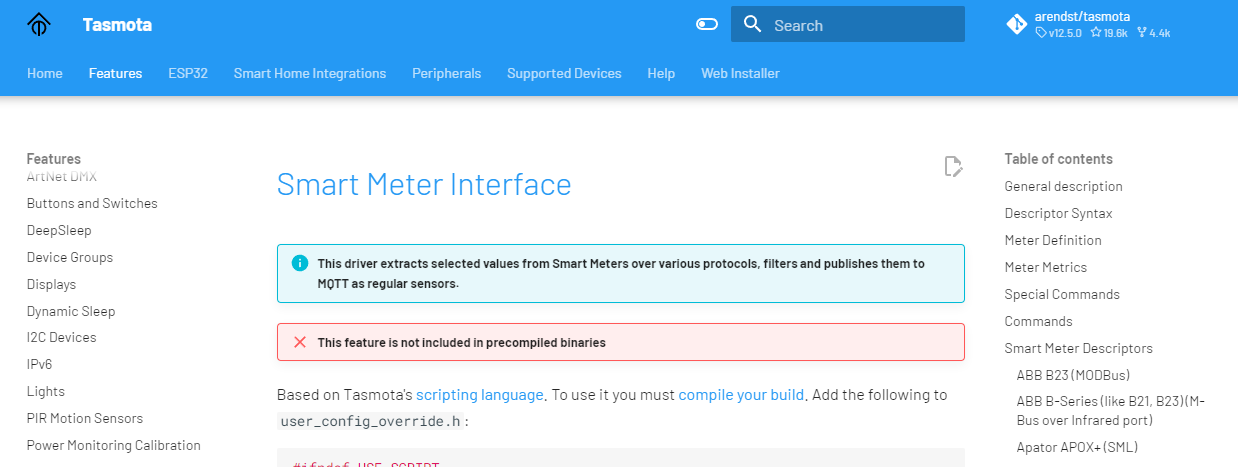
For the individual setting of the radio module to the desired energy meter, further steps are necessary. For this, the configuration of the energy meter templates must be downloaded from the Internet and copied. These templates can be found under https://tasmota.github.io/docs/ can be called up. In addition, further information on the TASMOTA configuration and its application can be found here.
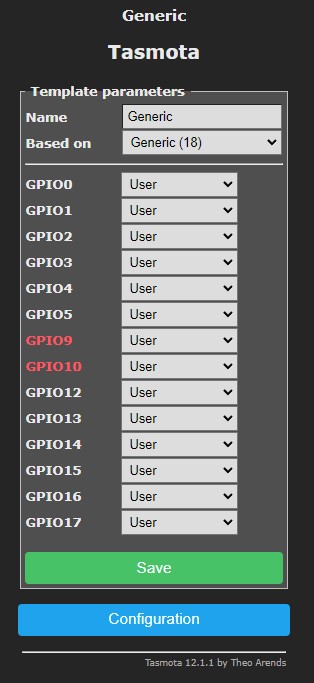
Setting up the template and inserting the script into the console
After these settings, the existing measured values are now available, which realise the transmission to the KNX bus with the help of a logic group. Search in the LOGIKEDITOR of the EIBPORT or LOGIKMODULE the logic group template "Energy meter OPTO coupler" and import them. Then the group addresses must be adjusted accordingly. Now the integration is complete.
